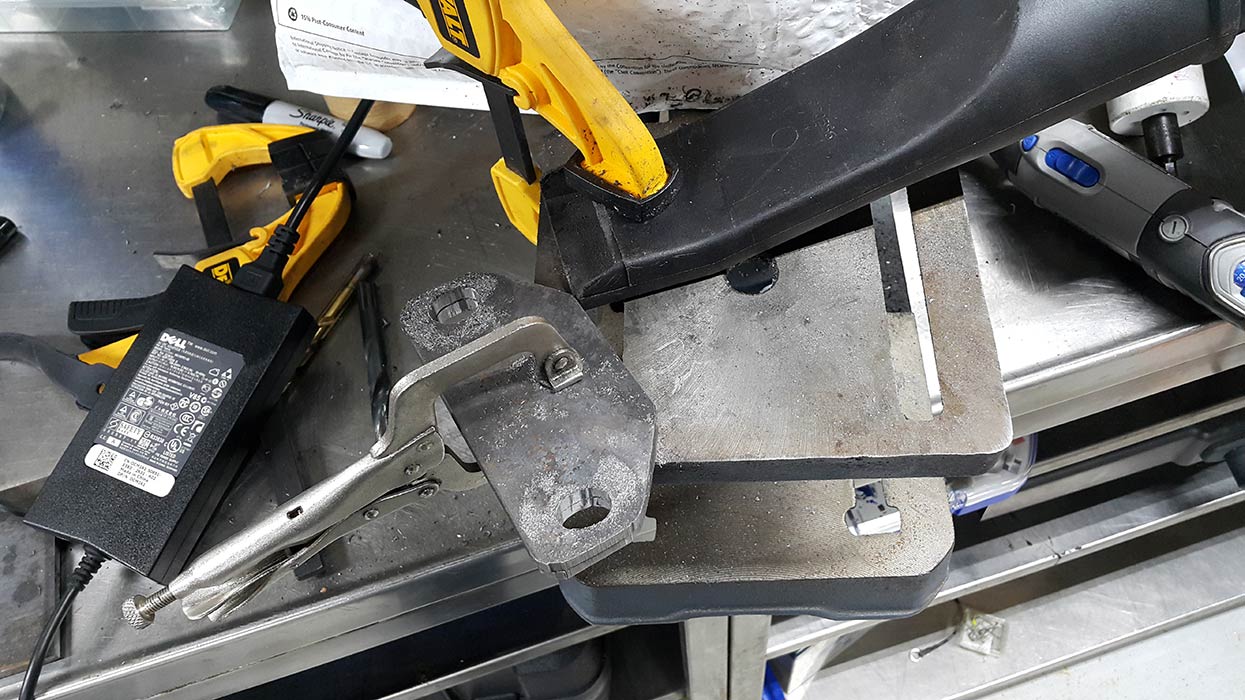
Making the 2JZ 4×4 Tacoma Motor Mounts
– Part 1 –
I had to trace new side motor mounts for the Tacoma frame.
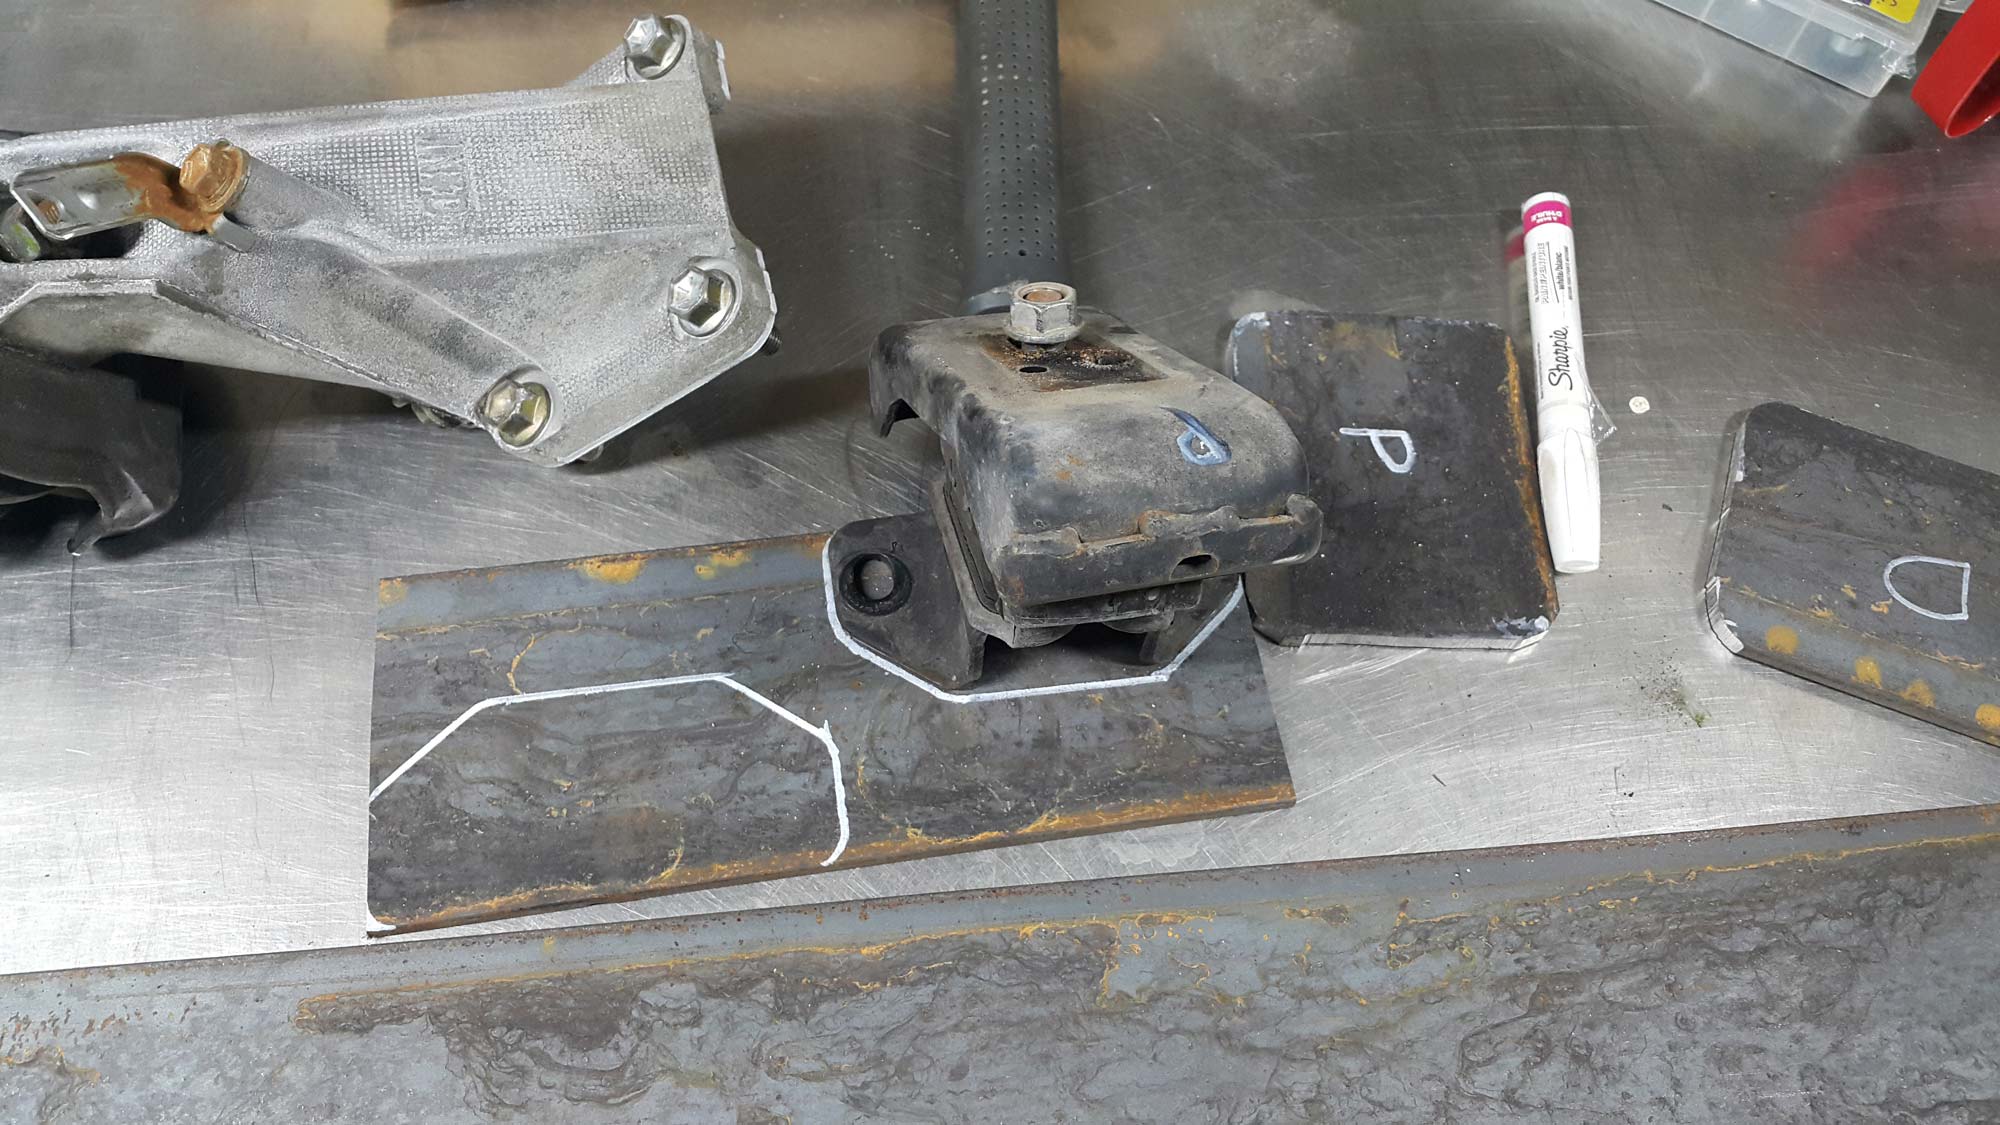

I had to trace new side motor mounts for the Tacoma frame.
The R154 bellhousing was bolted to the R150F and the transmission crossmember was modified, pushing the full engine/trans assembly back 2.75″. The water pump pulley is very close to the radiator.

I had to trace new side motor mounts for the Tacoma frame.
The R154 bellhousing was bolted to the R150F and the transmission crossmember was modified, pushing the full engine/trans assembly back 2.75″. The water pump pulley is very close to the radiator.
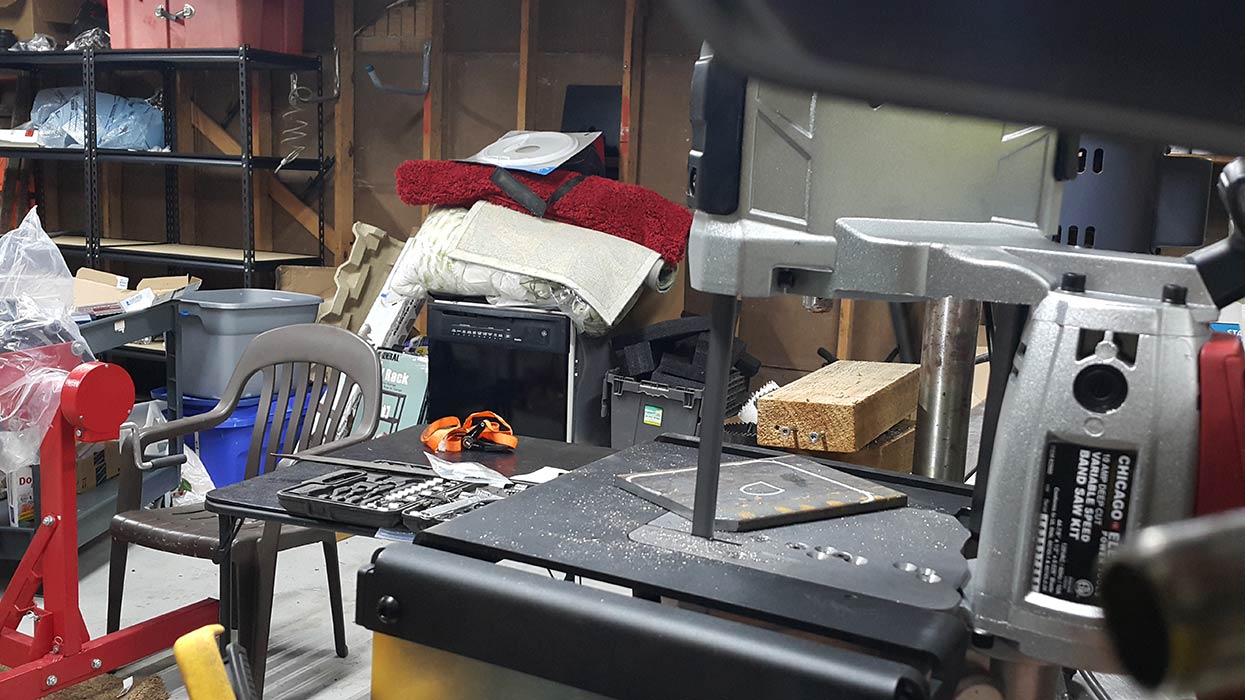
Various shots of the side motor mount flanges getting traced and cut. These flanges attach to the Tacoma’s frame.
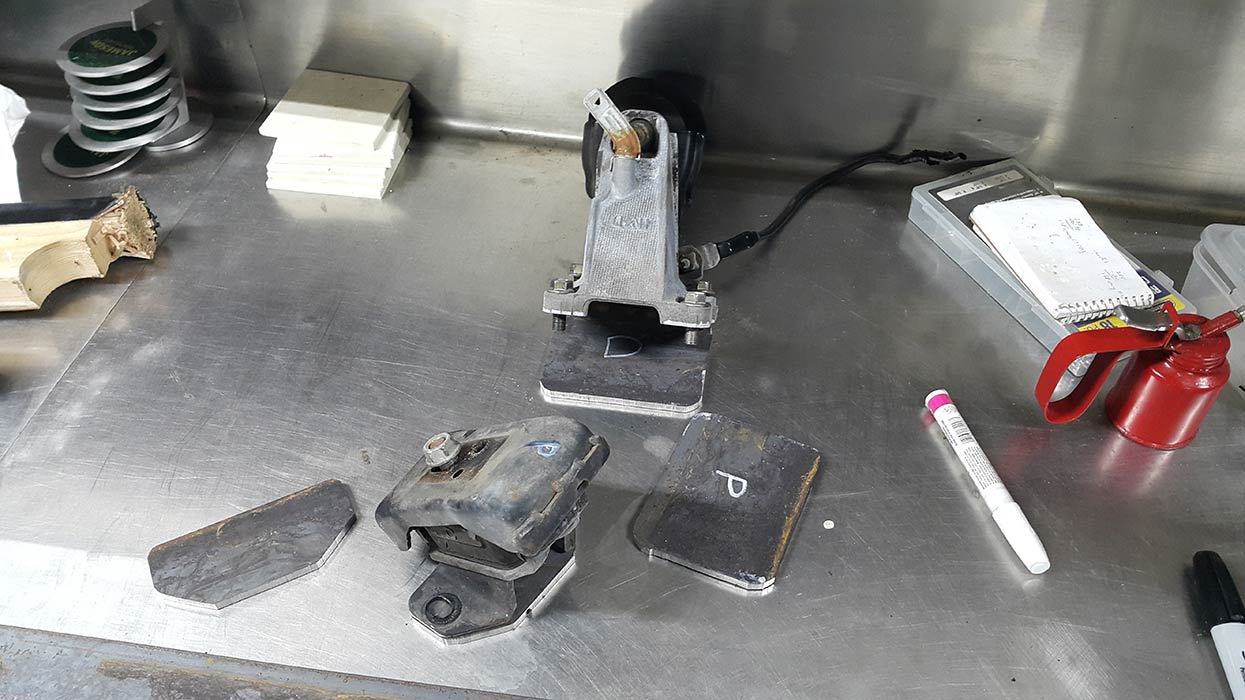
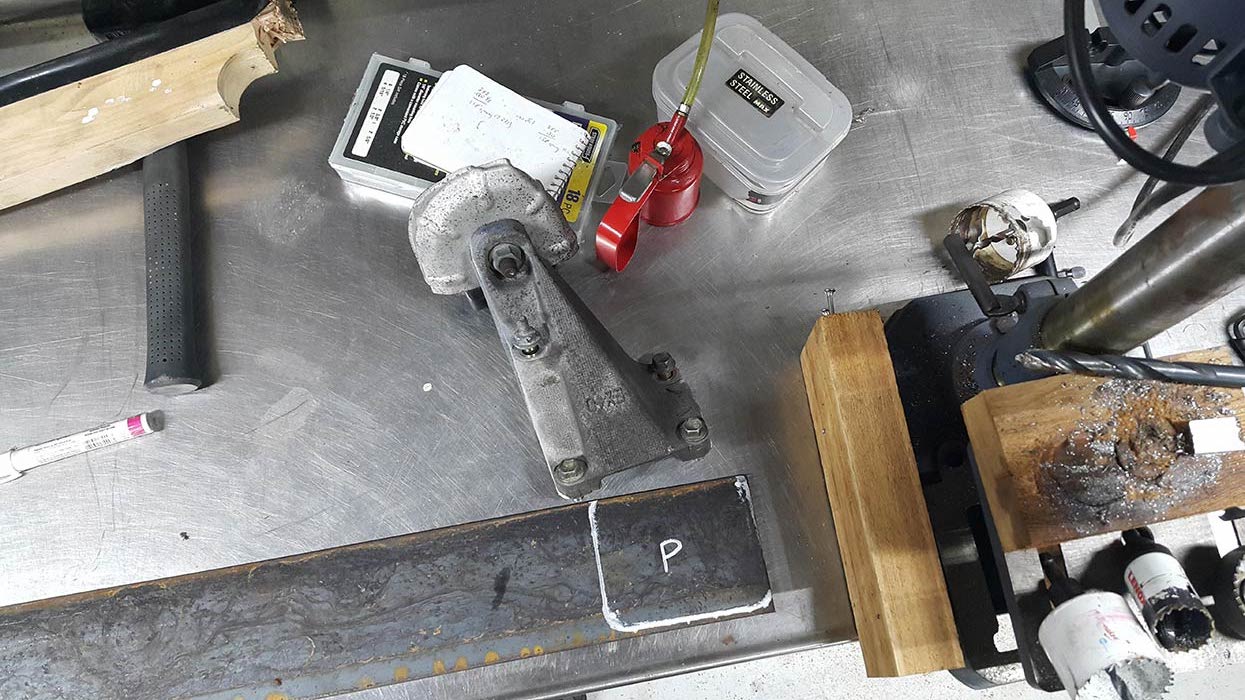
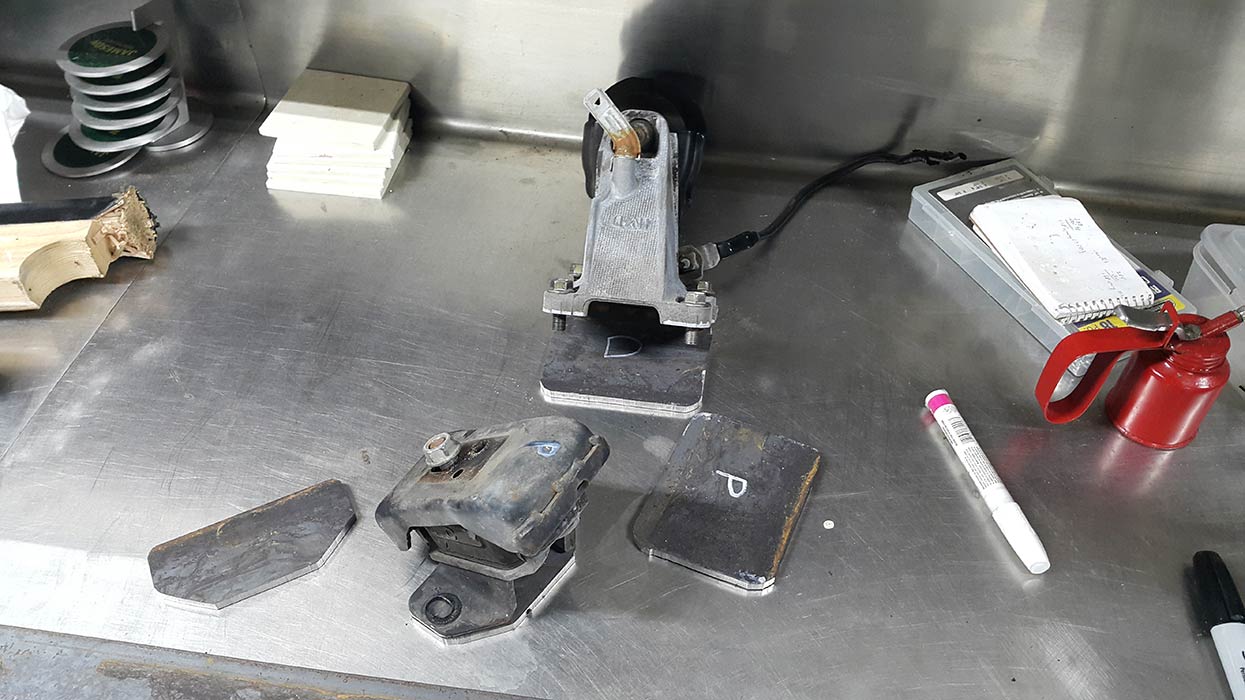
Test fitting the 2JZ side motor mount flange after cutting out the trace
The Bolts
The engine side flanges were thinner than the factory aluminum flanges. This made the bolts bottom out in the block, preventing them from securing the flange.
I trimmed the bolts to be flush against the flange, so they no longer bottom out. After the motor mounts were fully built, I used new and proper length flange bolts.
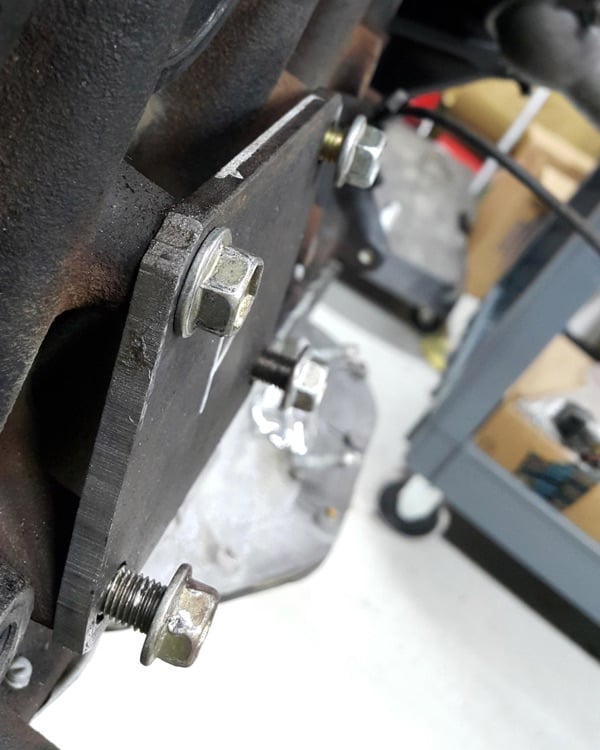
The first trimmed bolt, flush with the flange. The other 3 protruding bolts show how much longer they originally were.
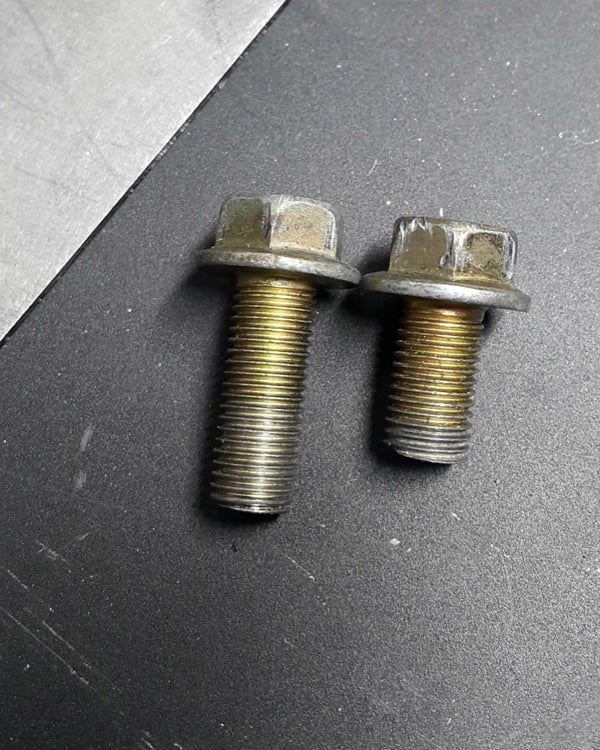
Side-by-side comparison.

The first trimmed bolt, flush with the flange. The other 3 protruding bolts show how much longer they originally were.

Side-by-side comparison.
The first trimmed bolt, flush with the flange. The other 3 protruding bolts show how much longer they originally were.


Side-by-side comparison.
Drilling the Flange Slots
Drilling the Flange Slots


